Hello, World! v1.0
Let’s start with a simple “hello, world!” model. A model consists of three components:
- Policy Space: Defines the tags the questionnaire can assign, and their possible values.
- Decision Graph: Describes a decision graph. A decision graph is made of node of various types. Each node carries instruction to a runtime engine, that traverse the graph along its edges. Decision graph files often have a
.dgsuffix. - Policy model definition file: A file that references both above files, and may contain additional metadata.
Creating a new model
In this section we’ll create a new model using the New Model wizard of CliRunner, PolicyModel’s command line tool.
- Start CliRunner by opening a terminal window and typing
java -jar path-to-policymodels/DataTagsLib.jar. You should be greeted with the CliRunner’s start screen.
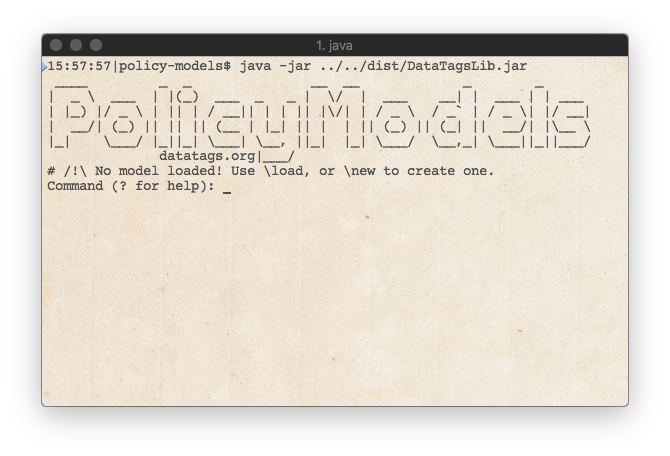
CliRunner’s start screen
- Type
\newat the command prompt, and pressenter. CliRunner will ask you a few questions regarding the model’s metadata, and will finally create the model itself. Where possible, CliRunner will present default choices (in square brackets). To except them, just pressenterand move to the next question.
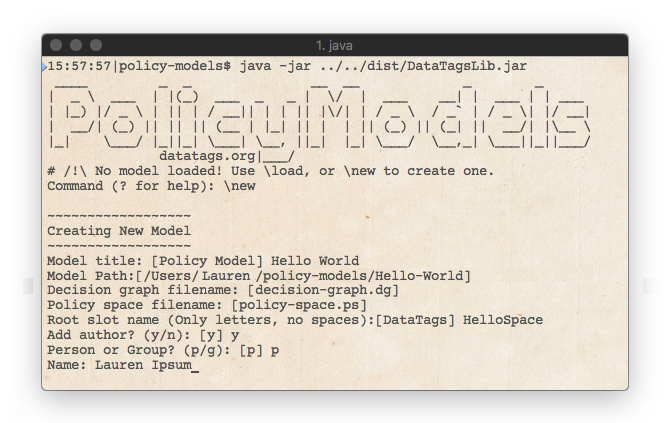
CliRunner’s New Model wizard in action. Default answers appear between square brackets ([]), and can be accepted by pressing enter.
- The model is ready! To have CliRunner open it in the system’s file browser, type
\show.
Policy Space
This being a “hello world” program, we need tags to allow us to greet the world (hello-world.ts):
DataTags: consists of Greeting, Subject.
Greeting: one of ignore, hi, hello, _hug_.
Subject: some of world, planet, moon, unrecognizedOrbitingObject.
Line 1 defines the DataTags Compound Slot. As defined in hello-world.ts, DataTags has two sub-slots: Greeting and Subject.
Greeting is an Atomic Slot - it is defined using one of. Atomic slot can be empty, or contain one of the values defined for them. Here, Greeting can be empty, or contain ignore, hi, hello, or _hug_. The order in which those terms are defined is important; we’ll get to this later.
Subject is what we greet. Since we’re not limited to one - it makes sense to say “hello” to the world AND the moon - Subject is an Aggregate Slot, defined using some of. Aggregate slots can hold zero or more values defined for them. The definition order for aggregate slots does not matter.
Note that slots can only hold values that are part of their definition. It is an error to assign world to Greeting, or to add _hug_ to unrecognizedOrbitingObject.
Decision Graph
Now that we have a policy space, we can create a process to decide on a specific policy within that space - that’s what the Decision Graph file is for. Our mission is clear: we need the final policy to have hello in Greeting, and world in Subject. A decision graph is made of nodes of different types. The node type decides what the runtime engine will do when it arrives at the node. There are nodes for setting the values in slots, nodes for prompting users for answers, etc. Nodes are written between square brackets ([ and ]). They may have an id (written between > and <), they always have a type, and they may have a body, which may contain other nodes.
[type]
[>id< type]
[>id< type: body]
For this program, we need to set the Greeting slot to hold the hello value, and to add the world value to the Subject slot. We will use two set node to achieve this, like so (hello-world.dg):
[set: Greeting=hello]
[set: Subject+=world]
This graph contains two set nodes, each one setting the value of a different slot. Note that since Subject contains a collection of values, we use += rather than =. If Subject contained other values, these values will not change when going through the set node.
Greeting is a different story. Being an atomic slot, it can only contain a single value. Thus, if is had any value in it, the set node in line 1 may remove is and put hello instead. There are cases when this set instruction will be ignored; we’ll get to this later.
Model Description
Last step before running the model: create the policy model metadata file. This is an XML file defining which file defines the policy space and which one defines the main decision graph. Additionally, this file contains metadata describing the title, authors, references, etc. By convension, this file is called policy-model.xml, but it can have any name (policy-model.xml).
1 <policy-model>
2   <title>Hello World</title>
3   <model>
4     <space root="DataTags">hello-world.ts</space>
5     <graph>hello-world.dg</graph>
6   </model>
7 </policy-model>
Runtime!
Now, let’s run the model as a questionnaire. Switch back to the terminal app, and type \rr. This will instruct CliRunner to reload the model and start running it. In case something went wrong during editing (e.g. one of the files containing a syntax error), an error message will be shown, explaining why the model can’t be loaded.
Tip
If you’ve already closed CliRunner, just open it again and use the \load command to load the model. CliRunner will request the path to the model’s folder. You can either type it in, or drag the policy model’s directory or policy-model.xml file to the terminal window.
The system traverses the graph and setting the slot values like so:
# Run Started
# Updating tags
# DataTags/Greeting = hello
# Updating tags
# DataTags/Subject = world

~~~~~~~~~~
Final Tags
~~~~~~~~~~
DataTags/Greeting = hello
DataTags/Subject = world
Command (? for help):
The run terminates on its own, as there are no questions. The CliRunner prints the final tags, and now waits for our command. Let’s look around a bit, then.
You can type ? at the prompt and get the list of commands. To see what the engine went through will traversing the graph, type \trace (commands always start with \, to distinguish them from answers). CliRunner responds with:
[>[#1]< set]
[>[#2]< set]
[>[SYN-END]< end]
There are two interesting things about this printout. First, all the nodes have ids (that’s the part inside the > <), even though they didn’t have ids in the code. Second, there are three nodes - an End Node was added at the end.
The ids were given to the nodes by the compiler. They can be thought of as “Miranda Ids” - if you don’t have an id, the compiler will provide one for you. It’s easy to know when an id is a Miranda id: it contains [ and ]. A program cannot use these characters in an id, as it would lead to a syntax error. This way, no collisions can occur between Miranda and programmed node ids. It’s useful to have these ids, as it allows the user to refer to them at the prompt. Try typing \show-node [#1] and see what happens.
As for the extra end node, it is also automatically added by the compiler. End nodes are used to tell the engine to stop the current graph traversal - they are the equivalents of a return statement in other languages. As this end node is in the top level, when the engine gets to it, the run terminates.
Visualizations
Some people find it easier to reason about decison graphs when they are displayed as, well, graphs. CliRunner offers this functionality, providing that Graphviz is installed. Type \visualize-dg at the prompt. CliRunner will prompt for a filename to save the visualization to, and possibly for a path to dot, the Graphviz executable used. Similarly, \visualize-ps will create a tree view of the policy space.
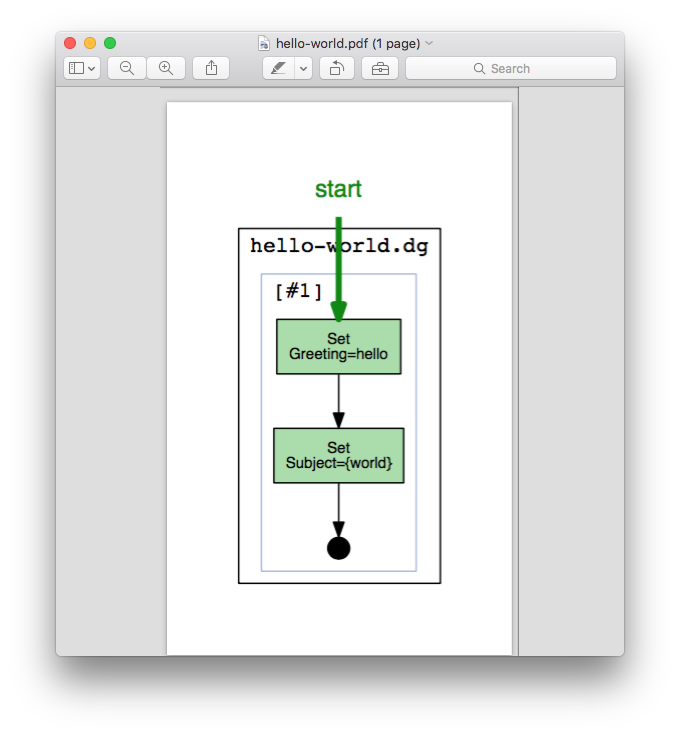
The result of visualize-dg - a drawing of the decision graph, in a PDF file.
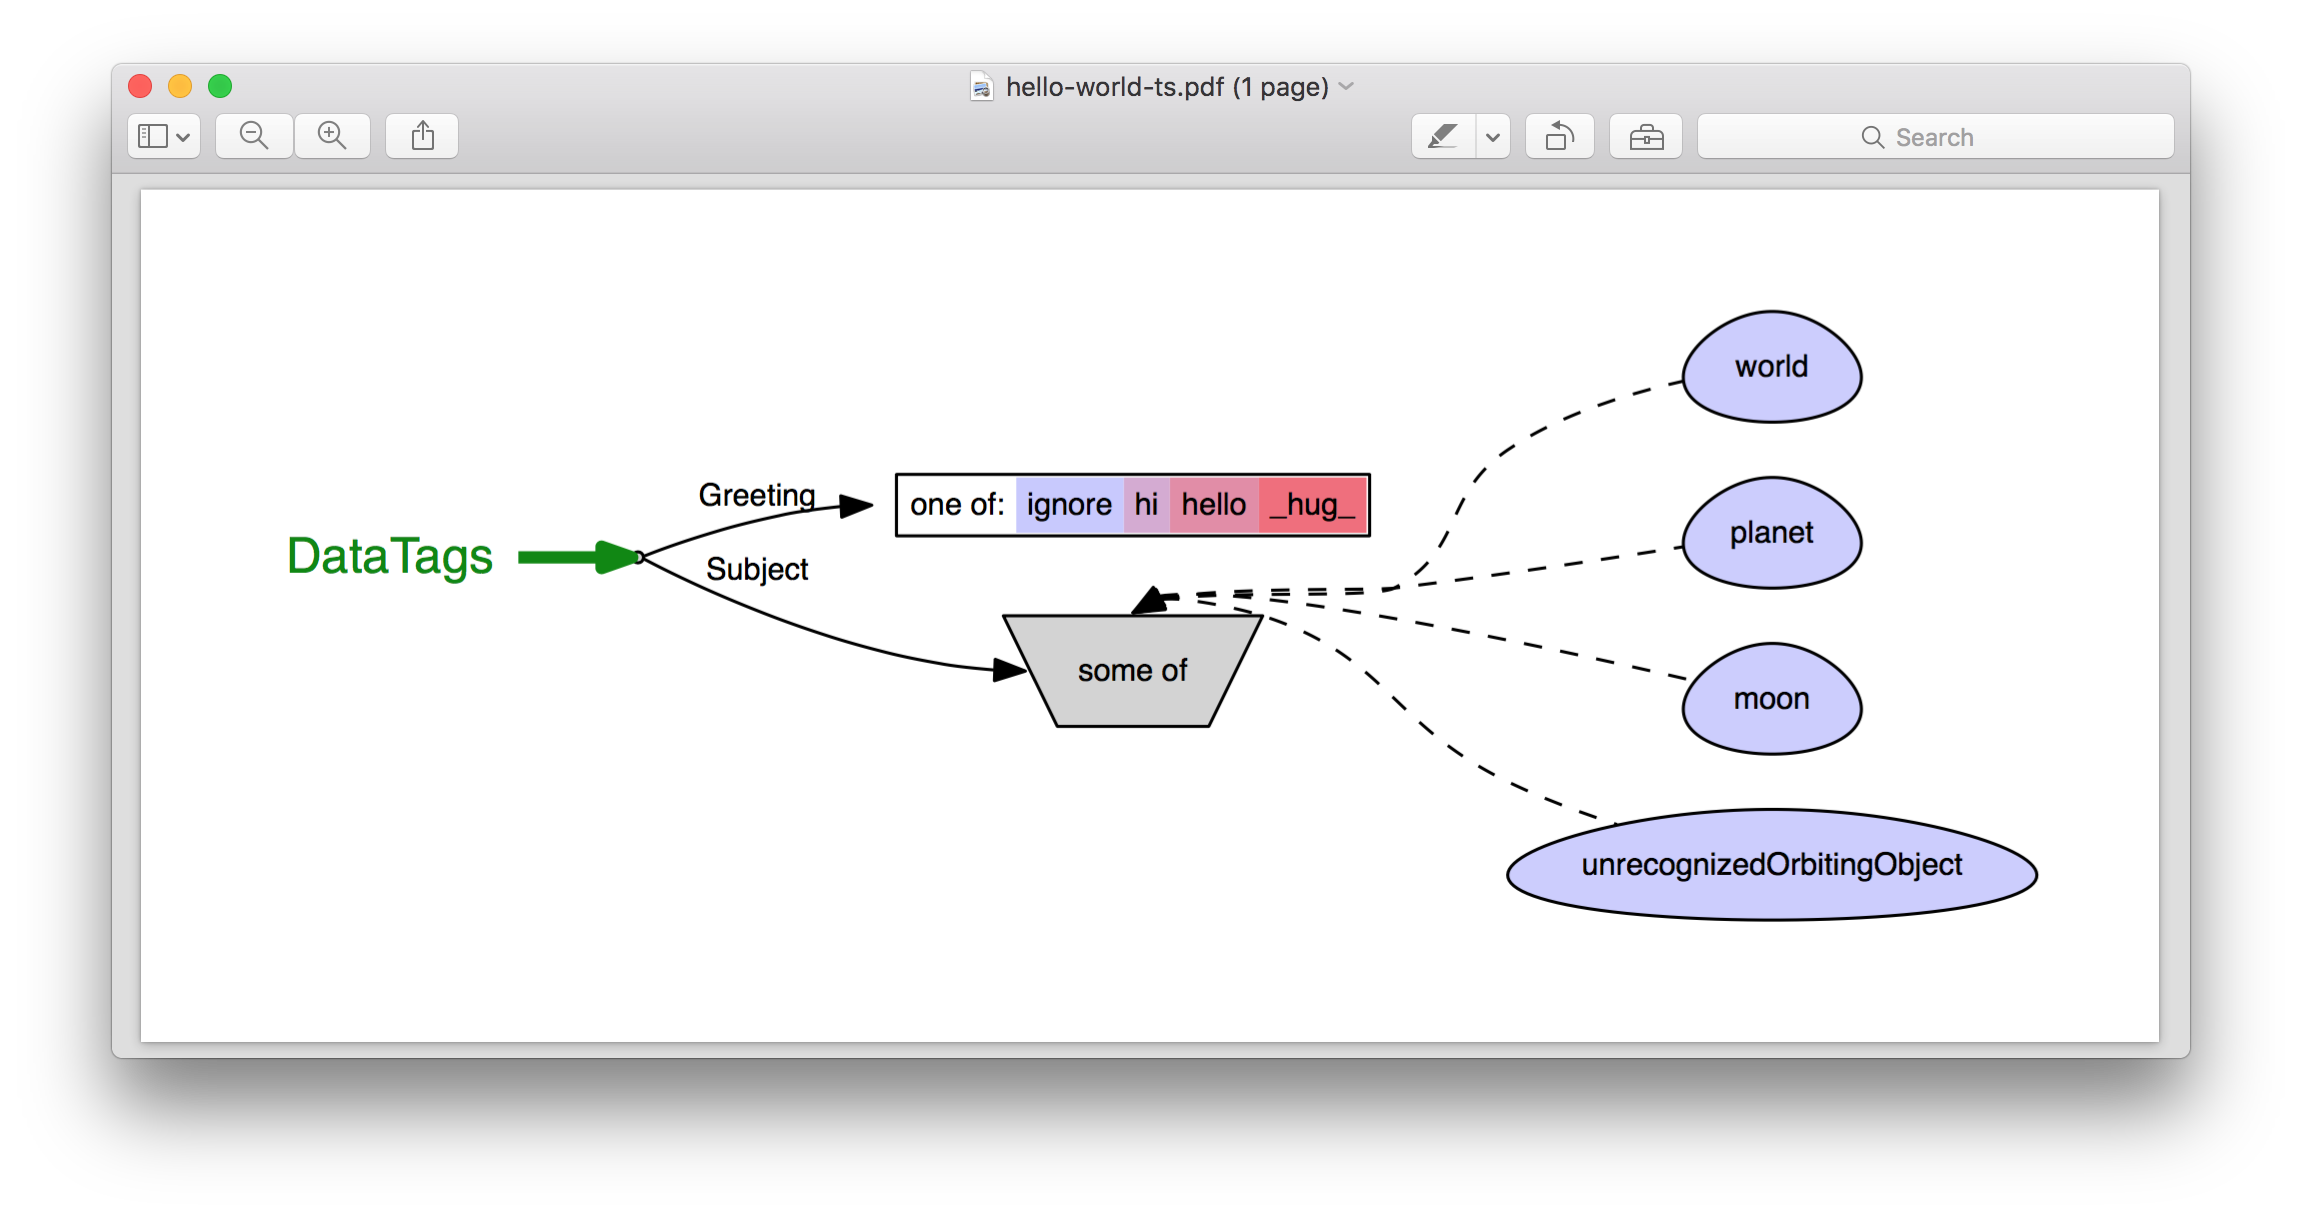
The result of visualize-ps.
Congratulations! You’ve finished your first questionnaire! To achive this, you have:
- Created a tag space out of three types of slots: Compound Slot, Aggregate Slot and Atomic Slot,
- Created a decision graph with set nodes,
- Looked at its trace and its nodes, and
- Visualized the decision graph and the tag space.
When you’re ready, you can take the next tutorials, starting with Hello World, Revisited.